
Setting up your Gigaspire U6 – Premium Wi-Fi 6 Router
Try this step-by-step guide to set up your Gigaspire U6 – Premium Wi-Fi 6 Router.
What’s in the box
Something missing? Let us know

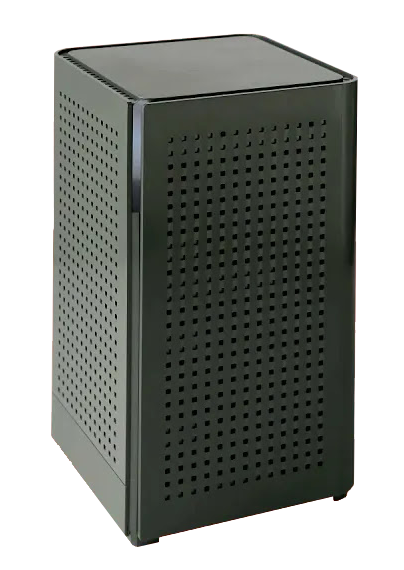
Gigaspire U6 – Premium Wi-Fi 6 Router

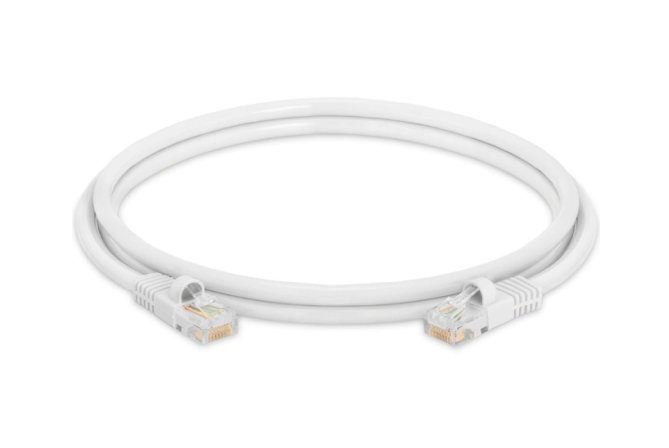
Ethernet Cable
This cord connects to your modem

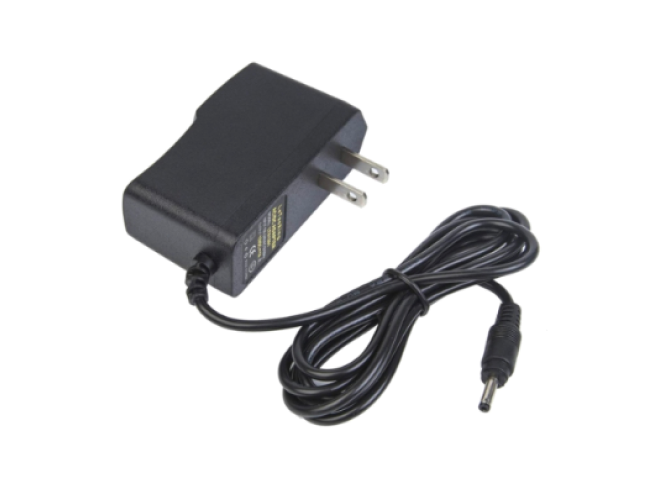
Power Adapter
Are you ready to get it all together?
Are you feeling stuck during this process?Contact Support
Step 1
Connect the Coaxial Cable (not supplied)
Disconnect your computer or existing router from the Altima Modem
Reduce the number of walls and ceilings between your Hub and other network devices.
Place the units at least 2 meters away from electrical devices or components that generate interference like a microwave oven, home security system or Bluetooth devices.
Make sure the agent units are placed no more than 10 meters away from the controller unit.
Place the controller in a central point (or close to the central point) of the space to be covered, so that distance from any agent unit to the controller unit is reduced.
Step 2
Connect the Ethernet Cable (supplied)
Connect the small black power adaptor cord into the Power port on the Wi-Fi unit and then plug the other end of the adaptor into a 120-volt household outlet.
Plug one end of the cable into the LAN port on the Modem and the other to the WAN port on the Wi-Fi unit.

Step 3
Connect the Power Cable (supplied)
Your new Wi-Fi unit will take a few minutes to boot up. Once completed the LED light bar on the unit will be illuminated solid blue letting you know your internet connection has been established.

Step 4
Download APP
Download the app Altima smart home app to configure your network settings, password or parental controls


